Stereo is all about creating differences between two channels. If you only have one track, you need to create these differences. This can be achieved by applying static and dynamic effects to the track. Remember that one effect isn’t going to change the picture drastically, it’s all about small changes that add up to something big in the end.
How-to
Pan the original track left, pan the reverb right
This is one of the oldest hacks that works really well. You can also use delay (e.g. slap back) in combination with reverb.
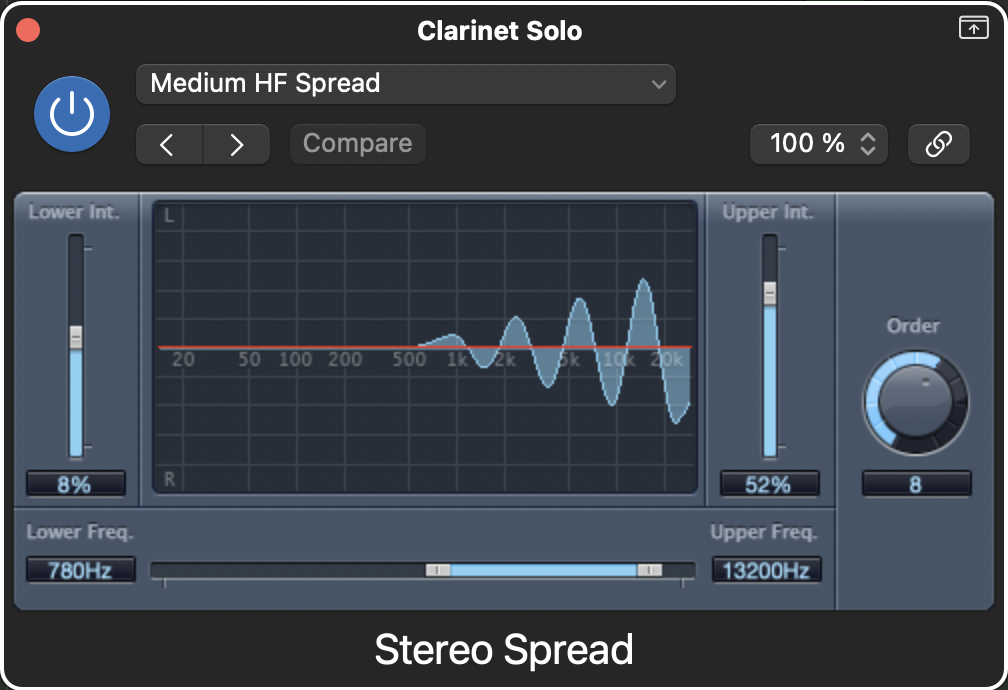
Use Stereo Spread or analogs
This will pan parts of your track based on frequency, as shown in the image.
Appy stereo chorus
Combined with reverb and Stereo Spread it can give you very good results.
Duplicate the track, move it forward by 10-20ms, pan
This is a very popular suggestion, but it is likely to cause phasing problems, so check your track in mono and/or use a corelation meter after the change. But you can build on this idea and introduce a few more changes between the original track and the duplicate.
Apply different compression to the Duplicate
It will introduce timing differences due to different attack and release times and add more space.
Apply different EQ to the Duplicate
Try cutting the lows on the dup and boosting the mid/high frequencies.
Apply other plugins with different settings
Get creative with saturation, guitar pedals, guitar amps.
Use automation to create more movement
You can apply automation to any of the plug-ins listed above to get the best results.
Manual and semi-manual edits of the Duplicate
You can use Ableton Warp, Logic Flex or other DAWs to quantize and/or humanise the tracks to introduce timing differences per note. This is a labour-intensive option, so it may be easier to just record another take of the same instrument.
This technique is used:
Genres: all
Instruments: all